About Me

My photo
I am a SAHM mother of three...only one left home though. Paper crafting is my passion...I love creating things and saving memories. I also enjoy reading, baking, spending time with my friends and family, and walking my two furry children. My goal on my blog is to share something a little crafty, something yummy, and something fun every week. Thank you for visiting & comments are appreciated :)
Showing posts with label layout. Show all posts

Thursday, September 12, 2013

Drive Lay Out

So, it has been a bit since I have been here...Life!  It has a way of getting in the way sometimes.  My girlfriend's husband passed away, Jarek started school and my mother-in-law took a turn for the worse...all in 10 days!  I am just now getting caught up on house stuff, bill stuff, school stuff...

I needed a break from the craziness of it all and did a quick layout...
Everything is from bits and pieces I had left over from other projects...and somehow they all managed to work together.  I still have to add a picture in the frame at the top... I plan to put his pic of him with his permit in there.  

Thanks for stopping by.  Happy Crafting!
Marie

Thursday, July 4, 2013

Priceless Layout

Finally, the "page three" of Spring Fling layout I shared with you in May.  This is a special page I wanted to do for my girlfriend's daughter.  I knew when I saw they picture of her and her daddy that, with everything they are going through, I had to do this layout.  I think it will be very special for her.

I used the following (all from Michael's):

teal ribbon glitter ribbon
Jolee's boutique satin flowers
Martha Stewart rhinestone stickers
Jolee's Bling dimensional stickers
AC Thickers in Silver Glitter
Scrappy Cat Glitter Glue in blue rainbow
AC Silver Glitter Card stock
TPC Aqua Mulberry
Recollections Rhinestone corners and individual rhinestones
black card stock
vellum

I also did one of my favorite techniques, layering the vellum over the photo with a cutout to accentuate the people.

Thanks for stopping and looking!  Hope you are having a wonderful day!
Marie

Wednesday, May 29, 2013

Spring Fling Layout

So, I LOVE  to do blingy, glittery, girly layouts...and do them for all my friends daughters since I have a boy.  I have not had the opportunity to do one in awhile...no one going to formals.  I was excited to get to do one for Lauren.  

I have known Lauren since she was about 18 months old....her mother and I are very good friends.  It is hard to believe that the little curly head in the pink bikini is old enough to be going to her first formal!  


Here is my completely blinged out layout for her first formal:


I used the following (all from Michael's):

teal ribbon
Jolee's boutique satin flowers
Martha Stewart rhinestone stickers
Jolee's Bling dimensional stickers
AC Thickers in Silver Glitter
Scrappy Cat Glitter Glue in blue rainbow
AC Silver Glitter Card stock
TPC Aqua Mulberry
Recollections Rhinestone corners and individual rhinestones


There is a third page to this layout, a special page that I will share later...after Teri and her daughter have seen it.

Thanks for looking!  Happy Crafting!  
Marie

Monday, April 29, 2013

Snow Day Layout

Wanted to share a quick layout I did using elements I received in a swap and the Challenge Sketch on Paper Crafting Divas.  
Pictured above are the (left) elements I received in a swap and (right) the layout sketch from PCD.

And, here is what I came up with:  
I did not have 4 pictures, so I used one of the larger elements in place of a fourth picture.  

Here's the details:
Paper:  royal blue card stock from a stack; I inked the edges with silver to help blend.
Title:  CM stickers from my stash; I added white puff paint to them to look like snow
Extras:  all other elements were from my swap. 

Best part, I still have enough elements left to do another layout!

Thanks for looking!  Happy Crafting!
                                                Marie 

Friday, September 7, 2012

Flash Back Friday: Beach Fun

While in the hotel, I brought some pictures to organize.  I am printing, gathering and making notes on how I want to scrap book them.  While doing this I came across the 100's of Key West pictures we have and I remembered this layout.  I originally designed this for a class I was teaching.  I created the pelican myself and made a pattern for the attendees.  The rest of the page is pretty clean and simple:  textured square with Cricut cut letters for the sign, logs were cut on the Cricut and strung with twine, I free handed the fish and added Stickles to them.   I think this will be perfect for our beach day!  Fun part:  I have not made a 'tear animal' in over 2 years, I am excited to do it again.  I love making the animals and watching them 'come to life' as you assemble and add details.   

What will you be working on this weekend?

Friday, May 11, 2012

Flashback Friday: Friends Layout

When my creative juices are just not flowing I look through magazines, peruse online galleries, or even flip through my scrapbooks.  So, the other day when I was trying to do a layout for my son's youth retreat I found myself in just that position.  I began looking for inspiration...and I found it in my own online pictures.  


This is a layout I did when working as a designer.  It was very popular...I know several people copied it and I made kits for several more.  As I looked at the layout I realized this could be adapted to any papers and sticker sheet.  This particular layout was done with Bo Bunny papers, Bo Bunny sticker sheet, black card stock, ribbon, flowers...lots of them, rhinestones, Stickles, and pop dots.  It was relatively simple to put together.  It is probably one of my favorite layouts.  Looking at it now I can see many ways to adapt it to other papers and events....instead of flowers use circles or leaves or rosettes, go with more masculine colors, twine instead of ribbon...You can even change the the elements of the layout to accommodate more pictures...the large sentiment on the lower right page could actually be another photo mat...the square mat on the left page could be changed to accommodate a 4x6 photo or two smaller photos, just as the large mate could be divided into two.  

So, when your creative mojo takes a hike, look for inspiration in what you have already created.  You might be surprised at what you find.

Thanks for looking!  Enjoy your weekend...don't forget to pamper your mothers!

Wednesday, April 18, 2012

Easter Layouts for....

2012!  Now you would think that would mean I am caught up...NOT!  I have just decided to work on pictures as I take them and then go back and do the hundreds on my computer when I have nothing current to work on.  I am getting there...I just have to do a few more for 2009 and 2010 and I will be current.  Ahhh, then I can move on to other projects.

This is what we started with (Jarek was working on the layout for his book):

All the items are from a swap I participate in with my Facebook group, Paper Crafting Divas.  This particular month I participated in both groups.  I love this swap because it makes scrapping my pages so much easier.  Each participant picks an element and make 5 of them, them we put them together in sets.  So, when you get your swaps back you essentially have a layout kit.  Now, you can use them for a one page, two page or whatever page layout...it is completely up to you.

So, here are the layouts:

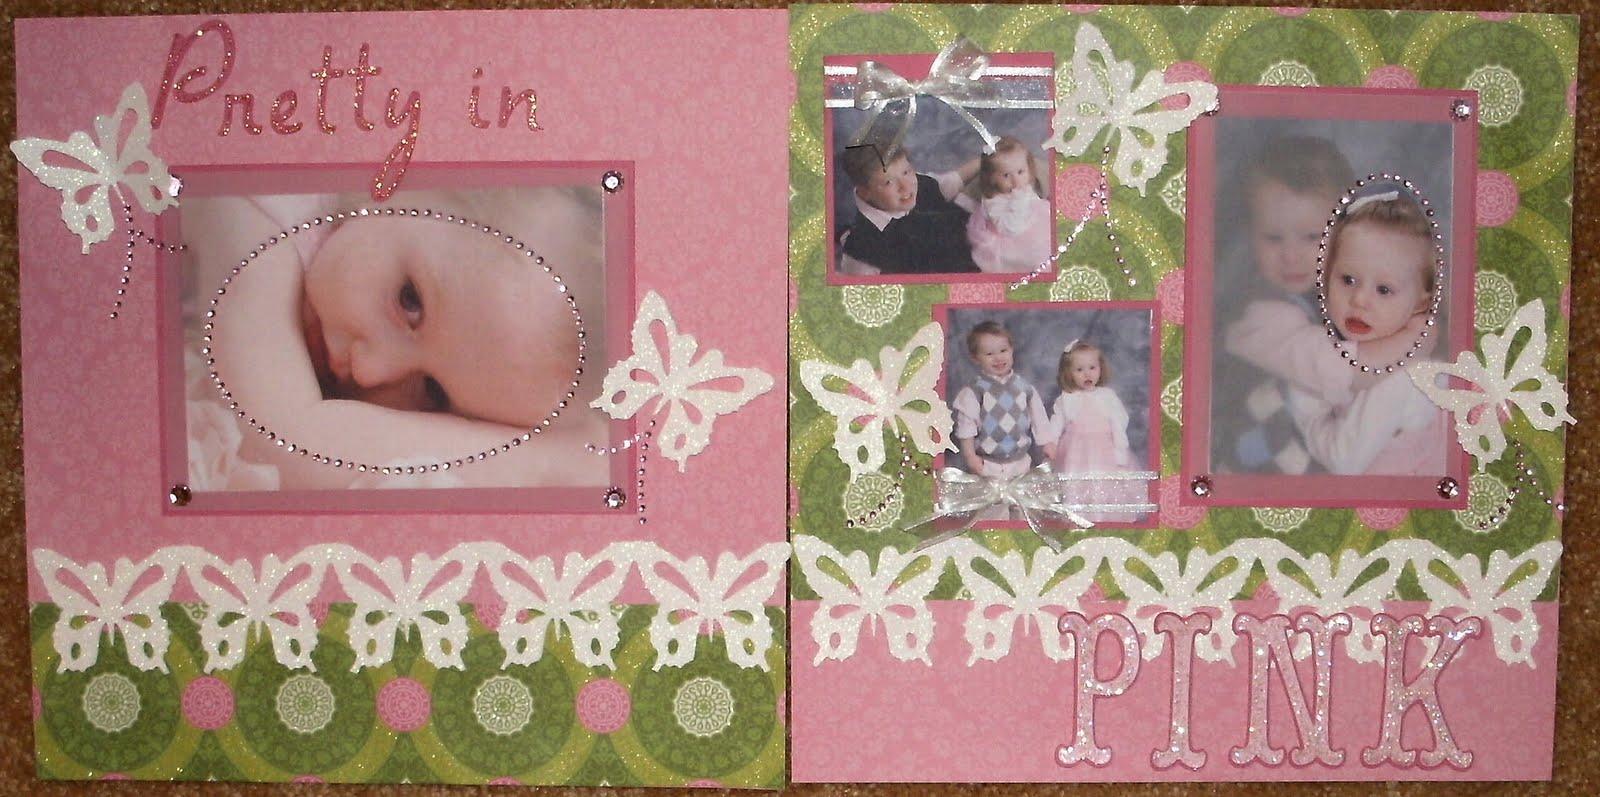
 This is mine.  I used the title box, one photo mat and an embellishment from the kits.  I added background card stock and matted the pictures.    On the title box I added a strip of paper for journaling and the title "Easter" with stickers. 

This is Jarek's.  he used the journal box and a photo mat from the kits.  He added background card stock and matted the pictures.  He also created a title using a banner and cut out from the Cricut.

Just a note, we were using the same sketch, but one of us mixed it up a bit!

Thursday, April 1, 2010

Pretty in Pink

Layout I did for the store featuring Jayla, my grand daughter. I used the new Anna Griffin papers...very pretty. The green one is embossed. The butterflies were a die cut sheet that I cut apart to use as a border & embellishments. I used the vellum technique again to highlight Jayla in the pics. I used opposites attract & storybook to cut the letters. Finally, I added cotton candy stickles to the lettering. Overall, very girly..very sparkly.

Friday, March 5, 2010

Finally...

OK...my girlfriend's daughter posted her pics from her recent trip to New York. When I saw her Central Park pictures I got an idea for a layout, so...since I often do some or her layouts, I told her mom I would do these. After two days of sketching the layout, fixing & resizing pictures, re-sketching to include all pics, etc. I finally sat down this evening to create the actual layout. this is what I did...


The picture really does not do it justice...it is so much prettier 'in person'. I used almost every girly embellishment...rhinestones, pearls, flowers, glitter, ribbon...I put rhinestones around the vellum cutouts. I used flower soft metallic filigree corners on some of the pictures. I sprinkled white flower soft on the edges of the flowers to mimic snow. I used glitter paper for the letters & accents. I added rhinestones to the flower centers. Took me about 2 hours, but I think the end result speaks for itself.